Are you planning to upgrade your home with new flooring? Proper preparation is the key to a successful and hassle-free installation. Whether you're installing hardwood, laminate, vinyl, or any other type of flooring, this guide will walk you through the essential steps to ensure your project goes smoothly.
Table of Contents
Before you dive into your flooring project, start by assessing your existing floor. This step will help you understand the condition of your subfloor and any potential issues you need to address.
If you have old flooring in place, such as carpet, tile, or hardwood, you'll need to remove it. Depending on the type of flooring, this process may vary. For example, carpet can be cut and rolled up, while tile may require chipping and removal.
Once the old flooring is removed, inspect the subfloor for any damage, unevenness, or moisture issues. Address any problems you find before proceeding with the new installation. It's essential to have a smooth and stable subfloor for the best results.
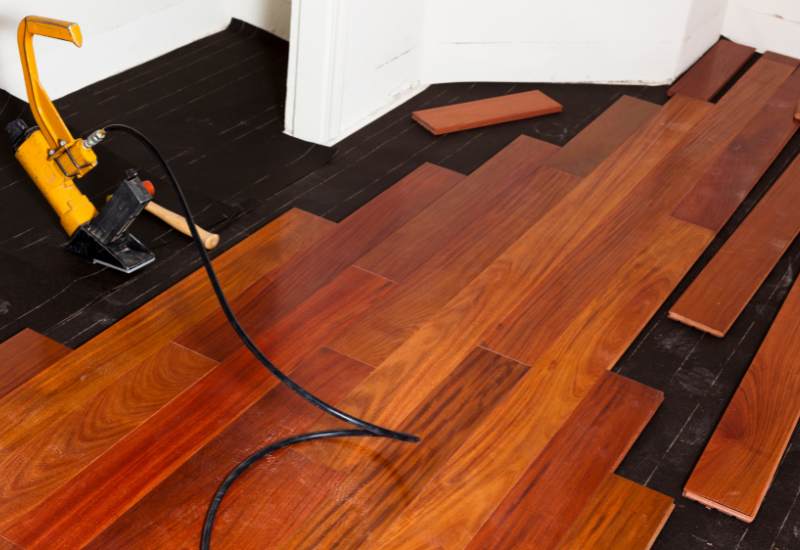
Take time to plan the layout of your new flooring. Consider the direction of the planks or tiles, especially if you're installing hardwood or laminate flooring. Planning the layout in advance will help you achieve a visually pleasing result and reduce wastage.
Before you begin installing your new flooring, make sure you have all the tools and materials you need. This includes:
Having everything ready will save you time and prevent interruptions during the installation.
With your tools and materials in hand, it's time to prepare the subfloor for the new flooring. This step is crucial for the long-term durability of your floor.
Thoroughly clean the subfloor, removing any debris, dust, or adhesive residue from the old flooring. Ensure that the surface is clean and dry. If your subfloor has uneven areas, use a leveling compound to create a smooth and flat surface.
Depending on the type of flooring you're installing, you may need an underlayment. Underlayment provides additional support, insulation, and moisture protection. Follow the manufacturer's recommendations for installation.
Before you start laying your new flooring, allow the material to acclimate to the room's temperature and humidity. This helps prevent warping or buckling after installation. Follow the manufacturer's guidelines for acclimation times.
Now that everything is prepared, you can begin the actual installation of your new flooring. Follow the manufacturer's instructions carefully to ensure a proper fit and finish.
When installing planks or tiles, follow a specific pattern to create a cohesive look. Avoid installing planks or tiles in a straight line, as this can make imperfections in the subfloor more noticeable.
Depending on the type of flooring, leave the recommended expansion gaps around the perimeter of the room. This allows the flooring to expand and contract with changes in temperature and humidity.
Once the installation is complete, finish any edges or transitions with appropriate molding or trim pieces. Clean up the installation area, removing any debris or adhesive residue. Admire your newly installed flooring, and enjoy the transformed look of your space!